The Healthy Cookie Recipe
Healthy Cookies, HFD Style
~30 minutes prep to finish, makes approximately 24-36 cookies, depending on the size.
List of ingredients and tools:
- 1 jar (10-12 ounces) of a natural nut butter with ingredients you can understand and pronounce - preferably without sugar.
(i.e., NOT some weird food passed off as nut butter that contains hydrogenated oil and sugar)
- ½ cup low glycemic load sweetener
(i.e., real maple syrup, raw honey, raw cane sugar)
- 1 egg
- 1 tsp baking soda
- 1 tsp vanilla extract
- ¼ - ½ cup shredded unsweetened coconut (organic if possible!)
- ¼ - ½ cup nut flour (I prefer almond flour or hazelnut flour and sometimes I use quinoa flour) OR shelled hemp hearts
- optional: good quality chocolate bar of choice, chopped
- parchment paper
- 1 or more baking sheets
- baking rack
- 1 mixing bowl
- mixing spoon, silicone baking spatula, cookie spatula (any flat spatula will do), 2 normal size spoons (I use a regular spoon as my tsp measurement, fyi - it always works out! But just to be clear, not a soup spoon or large spoon; and if you’re not as comfortable with baking, then use a measured tsp! You’ll still use a couple spoons to drop the cookies on the tray).
Ready? Here we go!
- Preheat oven to 350 degrees
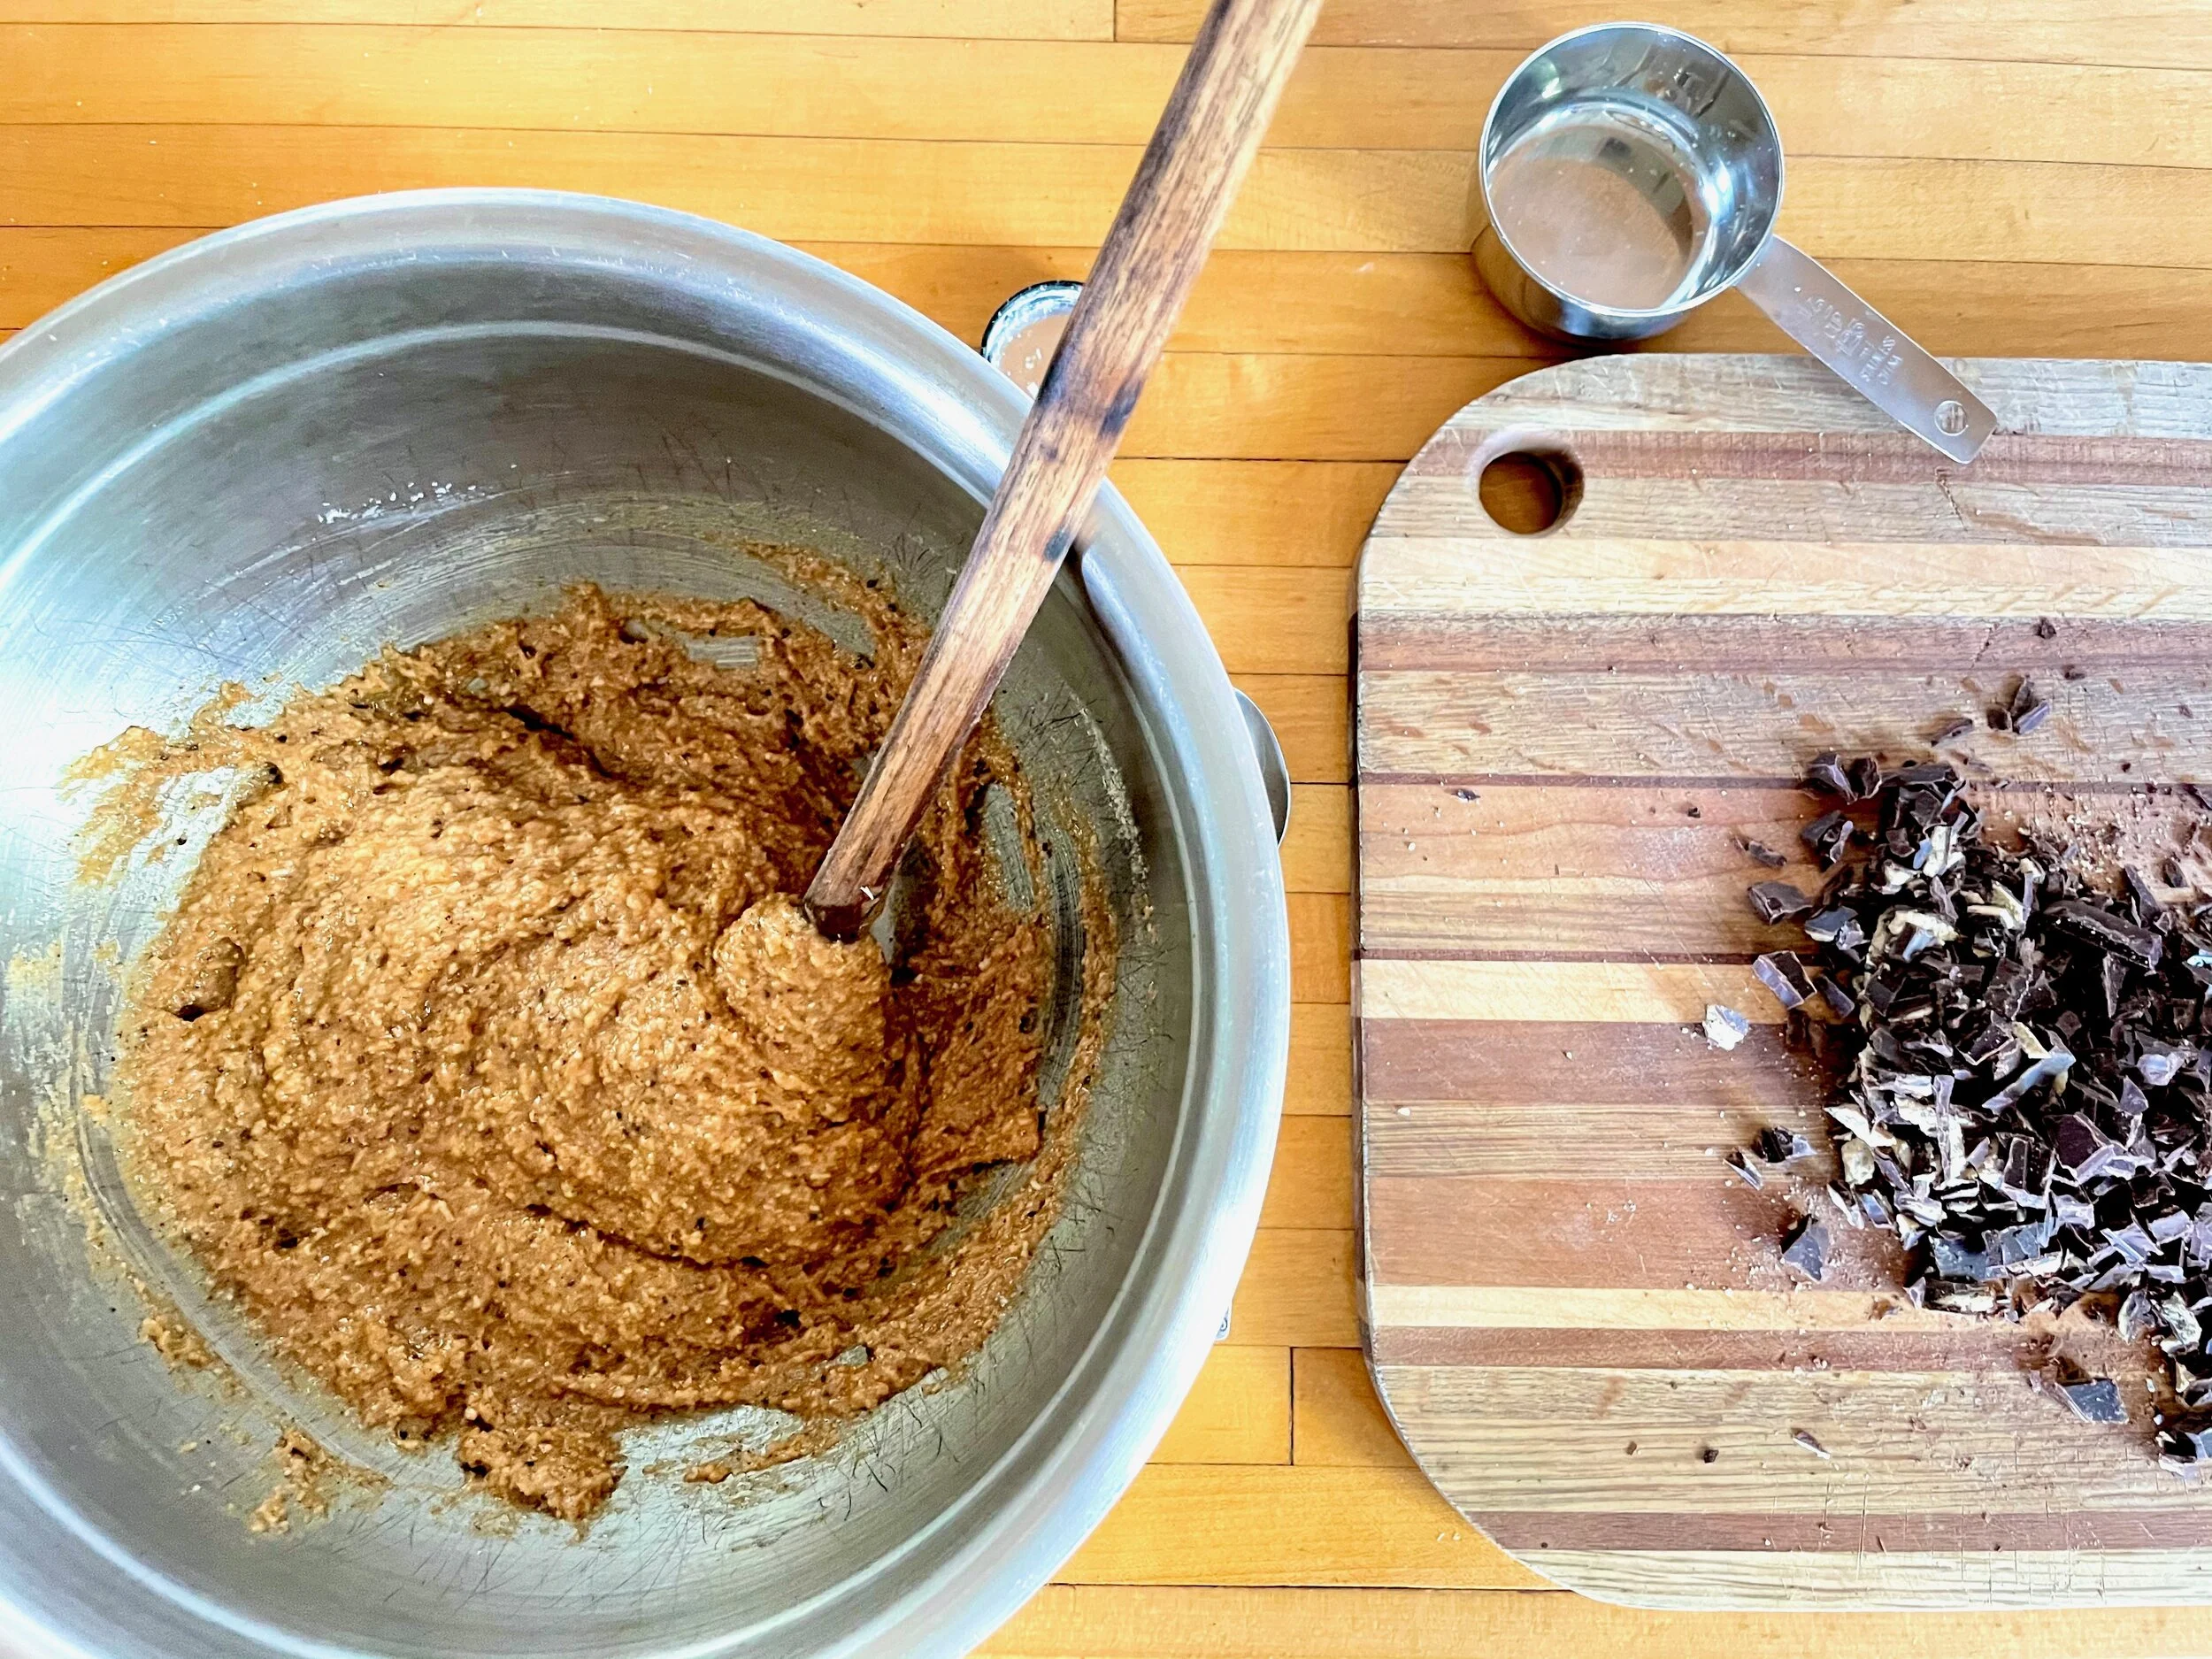
- Mix the entire nut butter jar (no need to pre-stir but use that baking spatula to get all the goodness out of the jar), baking soda, vanilla, sugar of choice and egg in the bowl - stir well to combine.
- Add shredded coconut and nut flour or hemp hearts and stir to combine
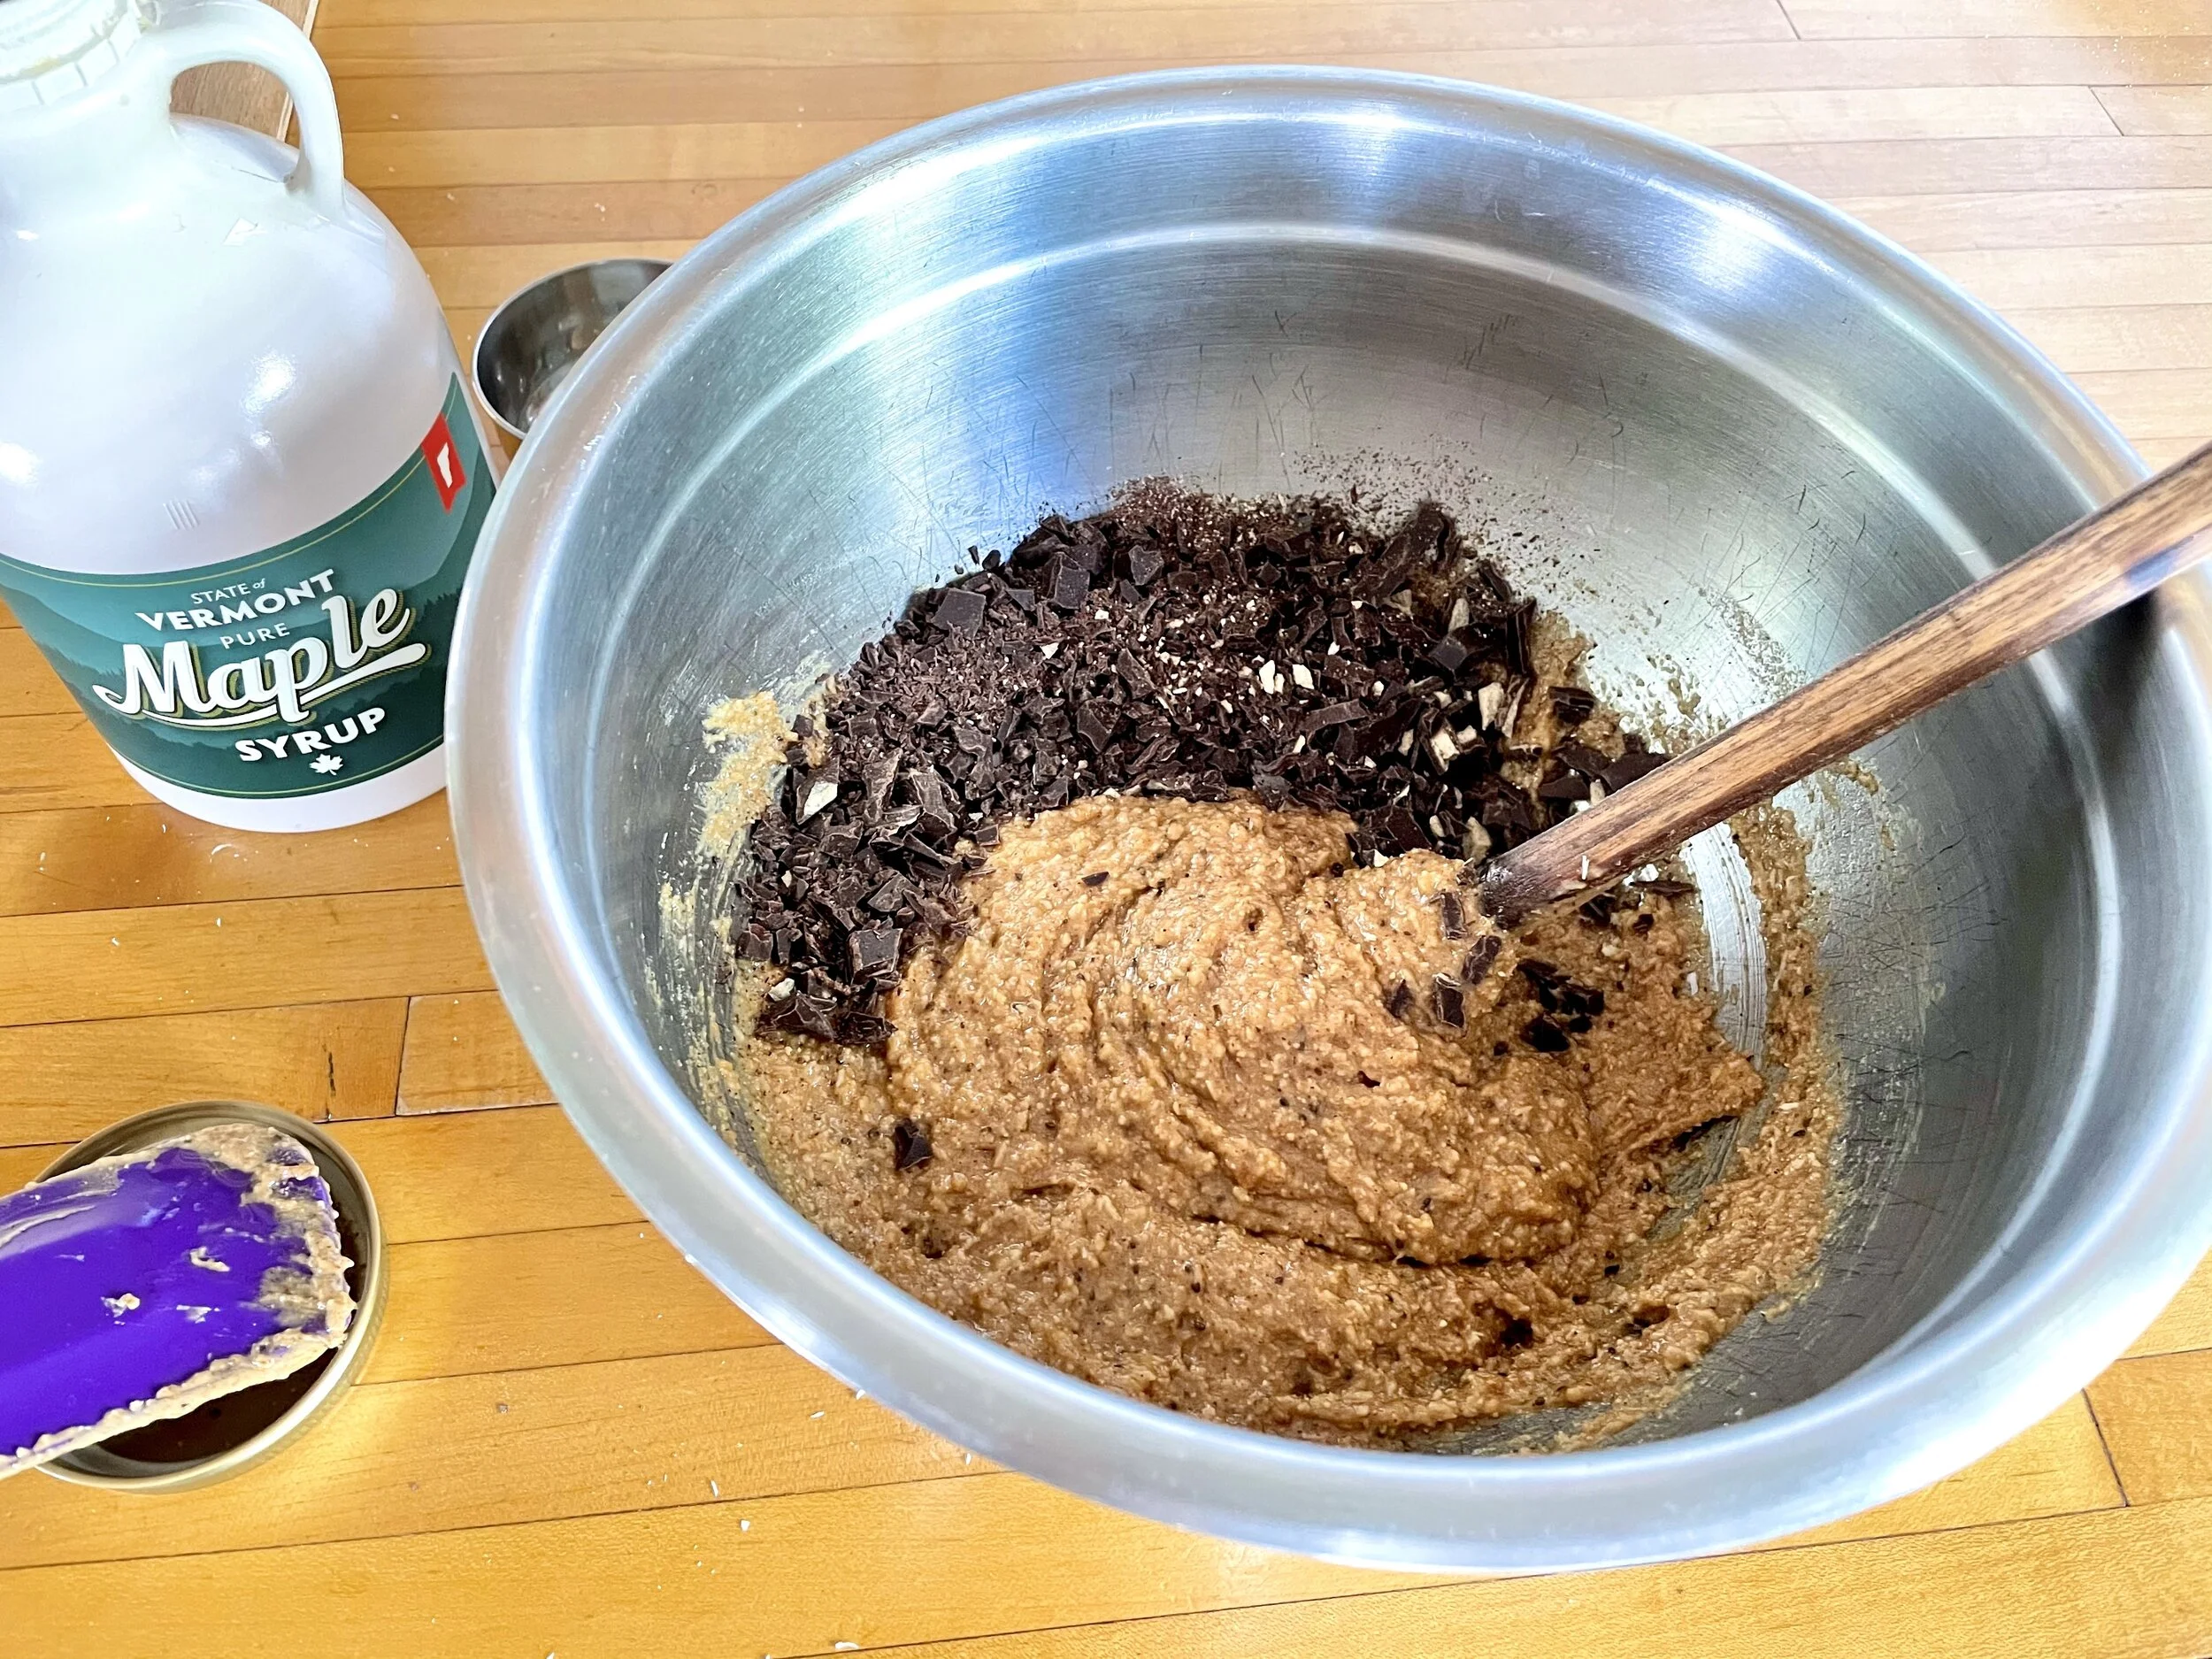
- Stir in the chopped chocolate
- Batter will be sticky in consistency, neither thin nor runny. It’s a bit too sticky to roll into balls, but if you want a smoother texture, go for it. I like the rustic look of the drop.
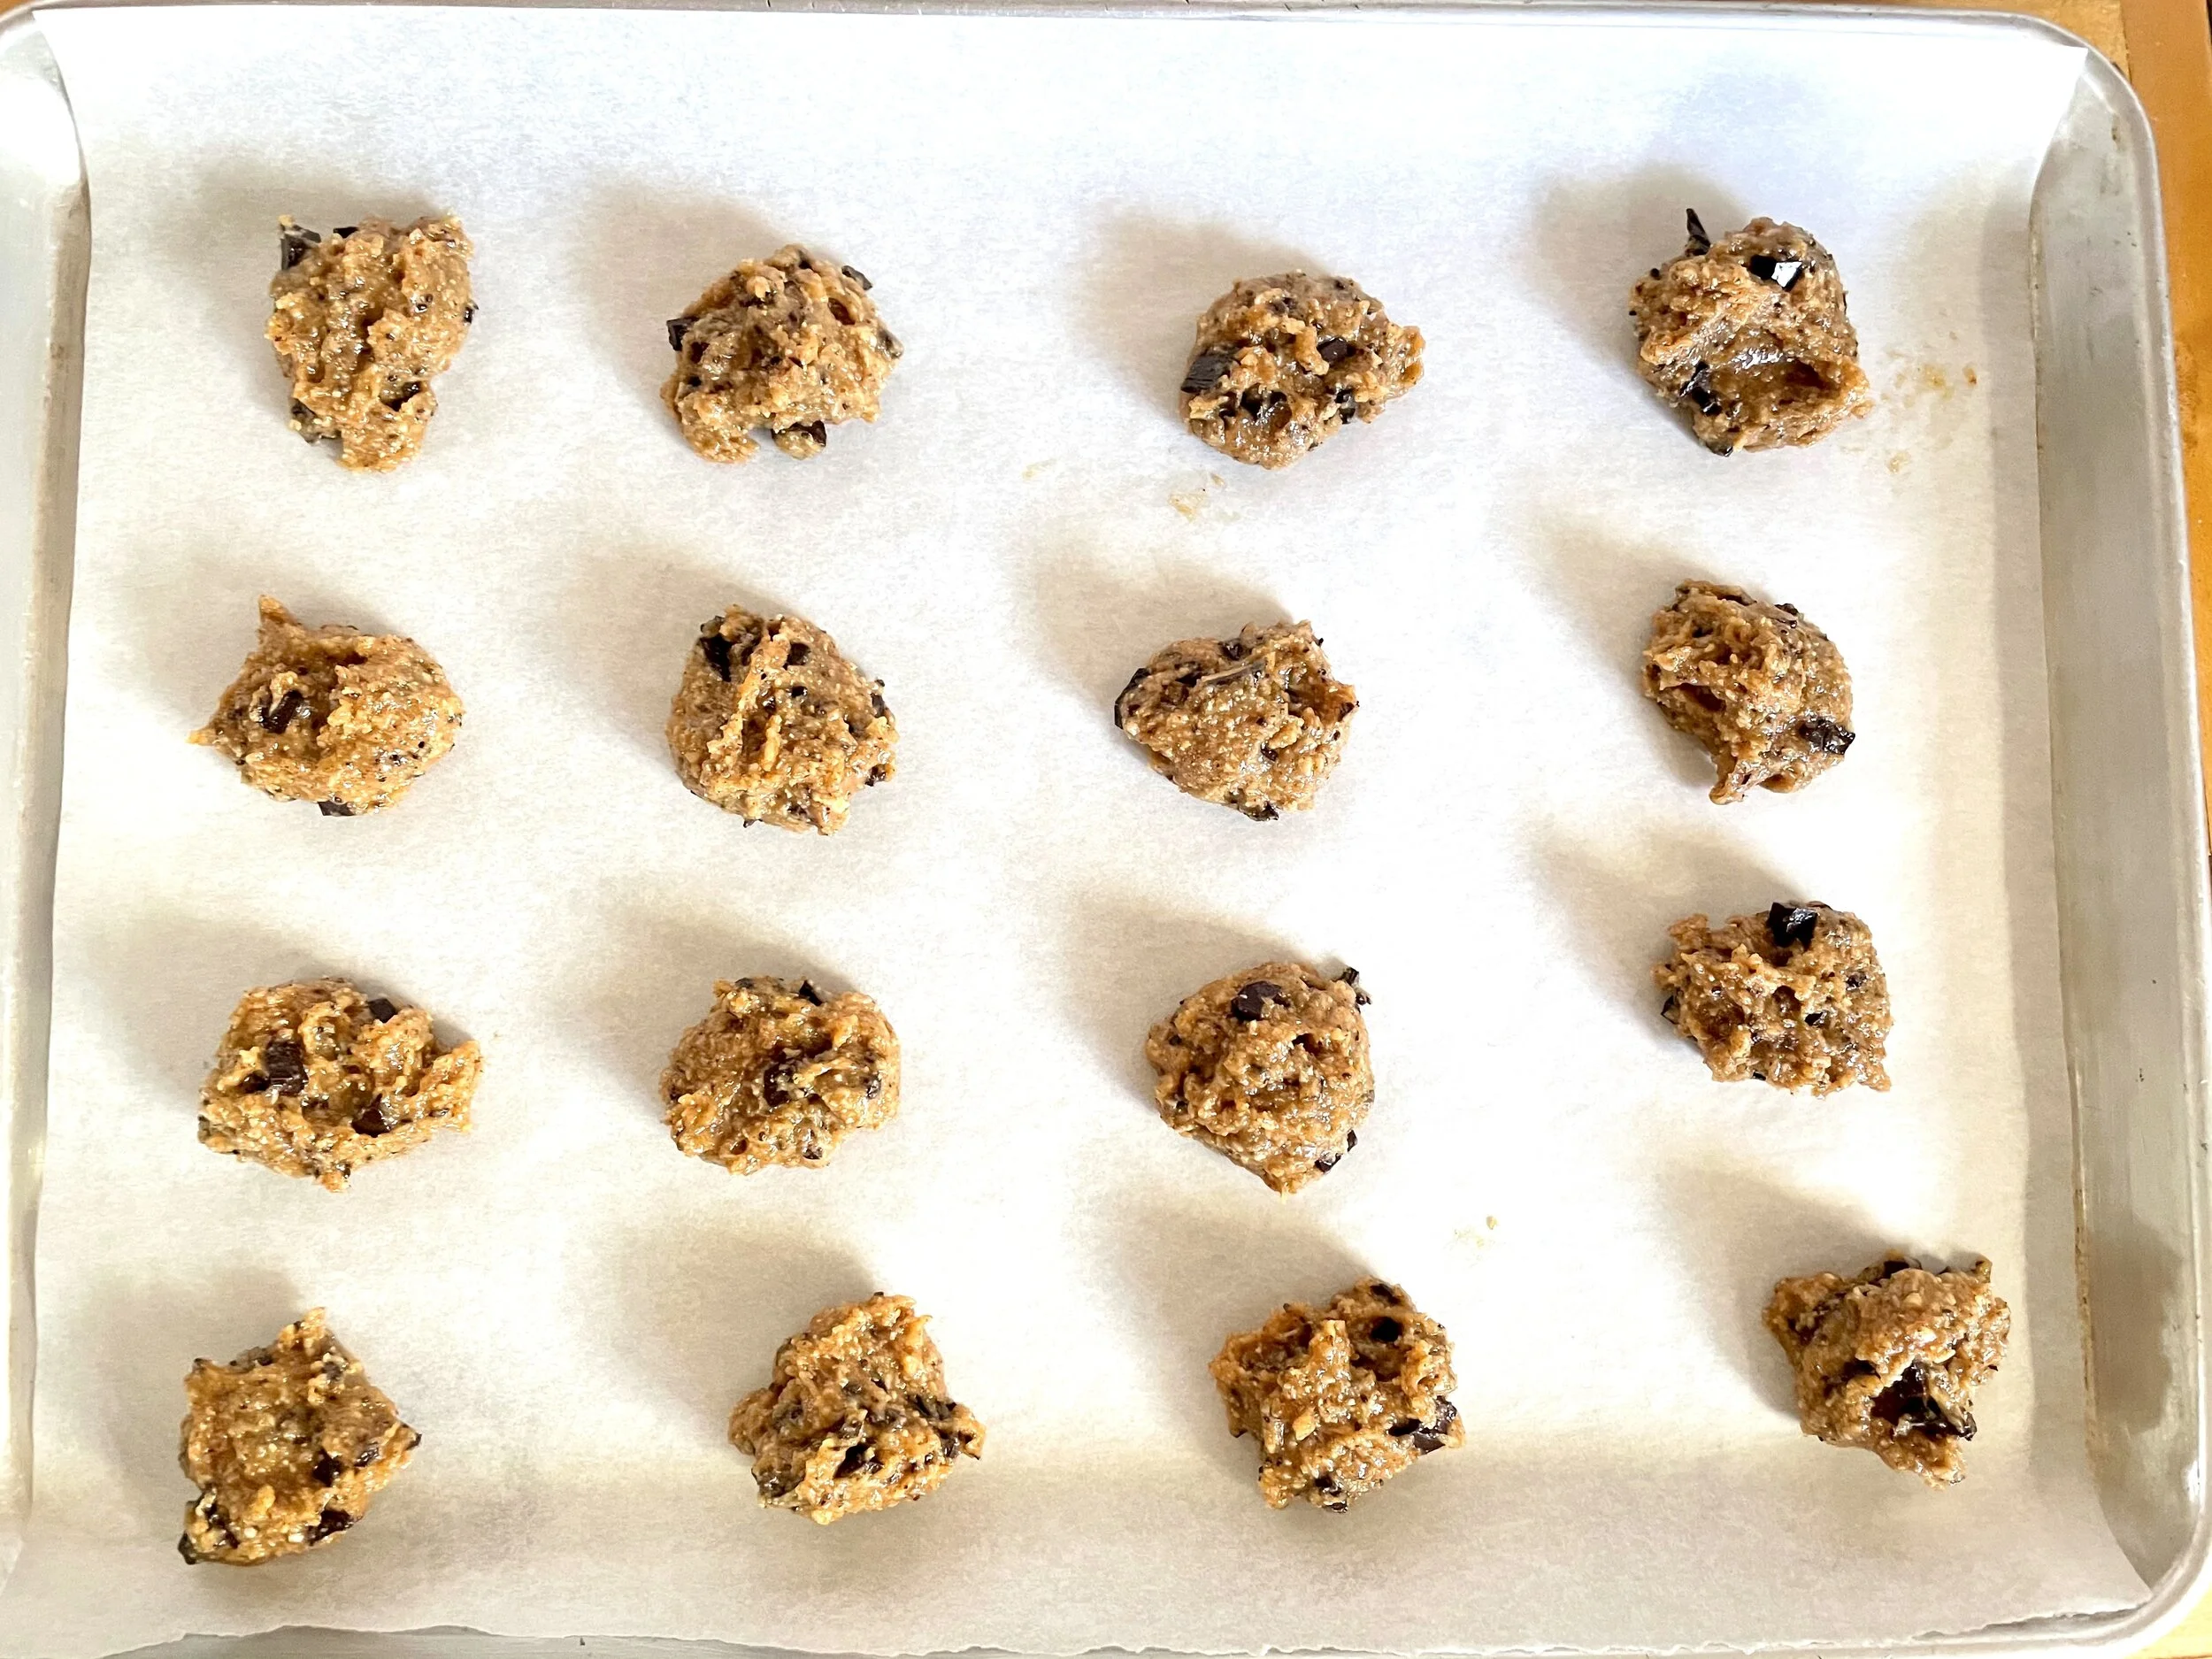
Note: Depending on the size ball or drop you make, you will get anywhere from 18-36 cookies with this recipe. I vary my size between about a half-full spoonful of a regular sized spoon and I consistently get right around 36 cookies.
- Line your baking sheet with parchment and using the two spoons, drop or place small to large spoonfuls depending on what size cookie you want onto the parchment - one dozen fits perfectly.
They don’t spread much.
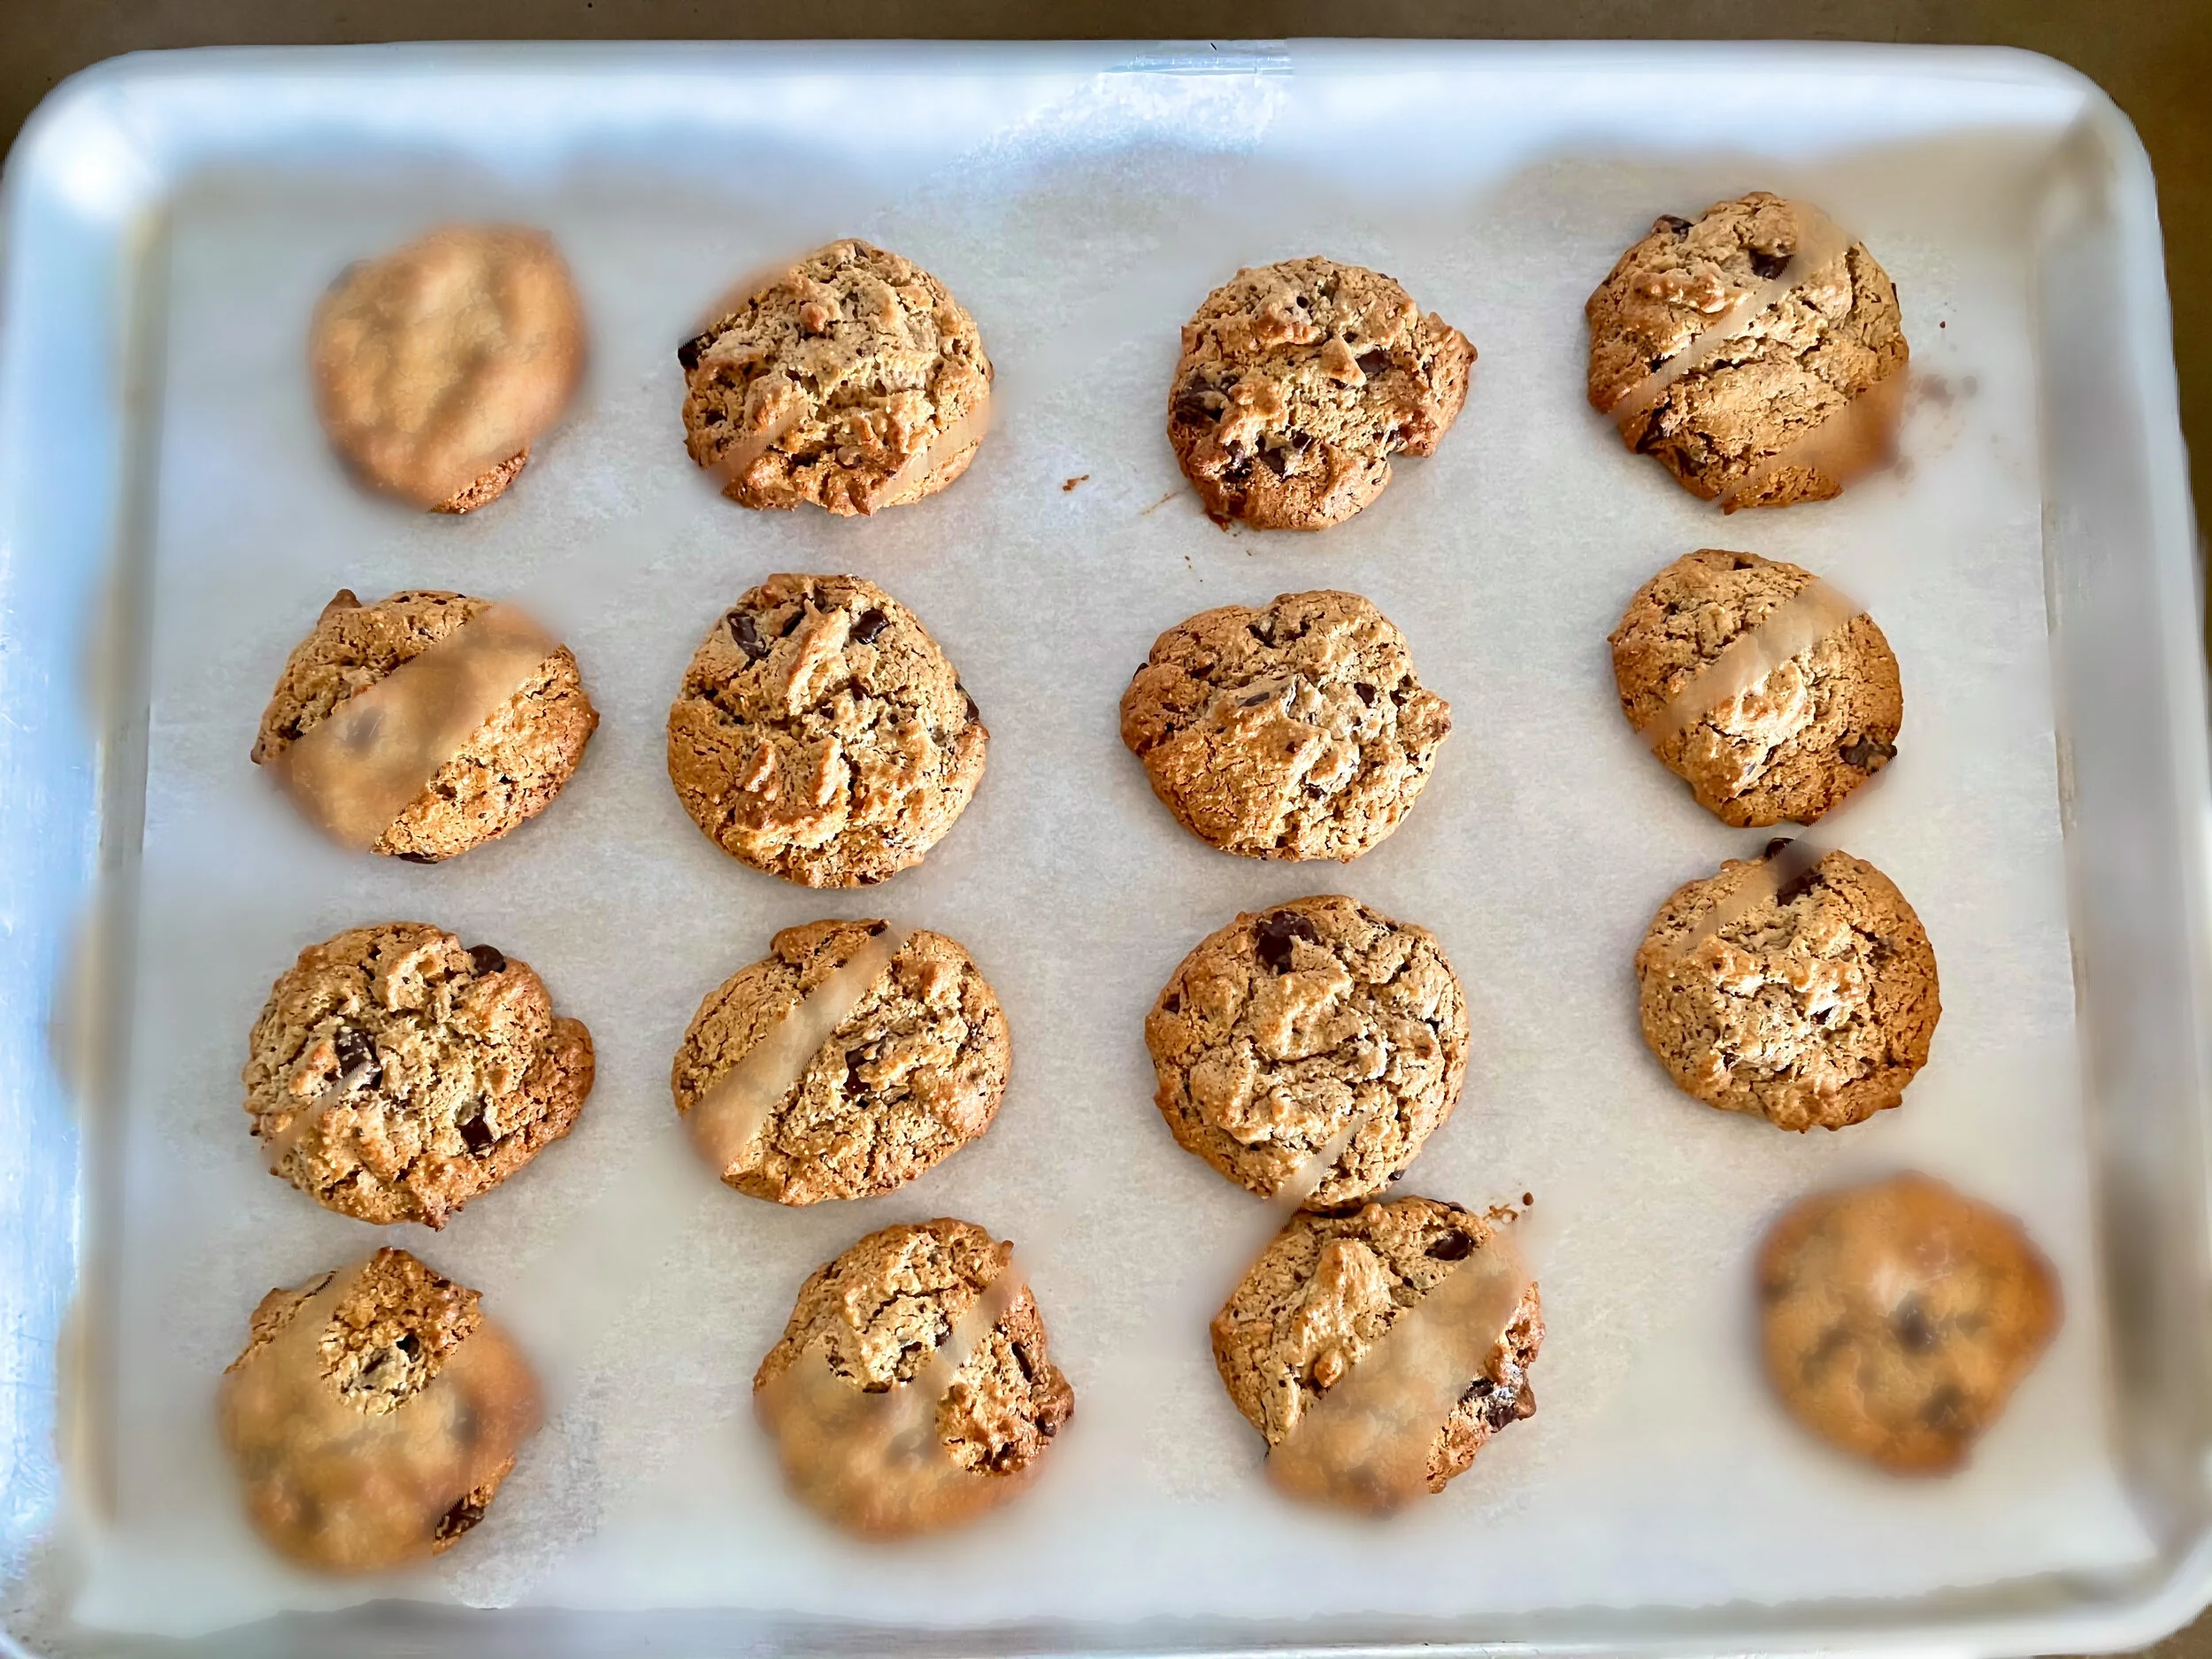
- Bake for 8 minutes with convection (10 or more without) until browned (just long enough to do some cleaning up of some of your tools).
- Remove from oven and allow to cool for 3-5 minutes before loosening with the cookie spatula before placing on the baking rack to cool completely.
Cookies are ready to eat as soon as you transfer them to the baking rack, because hello, warm cookies; but they will firm up as they continue to cool.
(As the cookies are cooling, you can do more cleanup!)
Storage:
Once cooled, I store them in between layers of parchment paper in glass, re-purposed plastic, or Tupperware containers and LOVE to share them with people. Keep in refrigerator for up to two weeks, if they don’t get eaten up before then! We don’t have this problem in our household. ;)
Tips:
- If you only have one baking sheet - you will need fresh parchment for each tray you bake; but by the time the cookies are cool from the oven, you are ready to bake your next tray. Admittedly it will probably take a little longer than thirty minutes when you only have 1 baking sheet. I know because when I’m at Jesse’s house, we only have one sheet. Ha ha. But I don’t mind one bit. He has convection and I love how fast and even the cookies bake with convection!
- If you are using more than one baking sheet, and you don’t have convection, switch racks and turn cookies halfway through bake time. If you have convection there is usually not a need to do this extra step.


